
An image frame is used to define which portion of an image is visible in a document. Therefore, it is possible for an image to 'disappear' if it is moved entirely outside of the image frame, whether through manual error or incorrect fitting options.
This lesson will demonstrate how to move an image back into a frame.
NOTE:
There are other more general lessons about working with images and frames in the one2edit™ knowledge base.
Image outside of frame
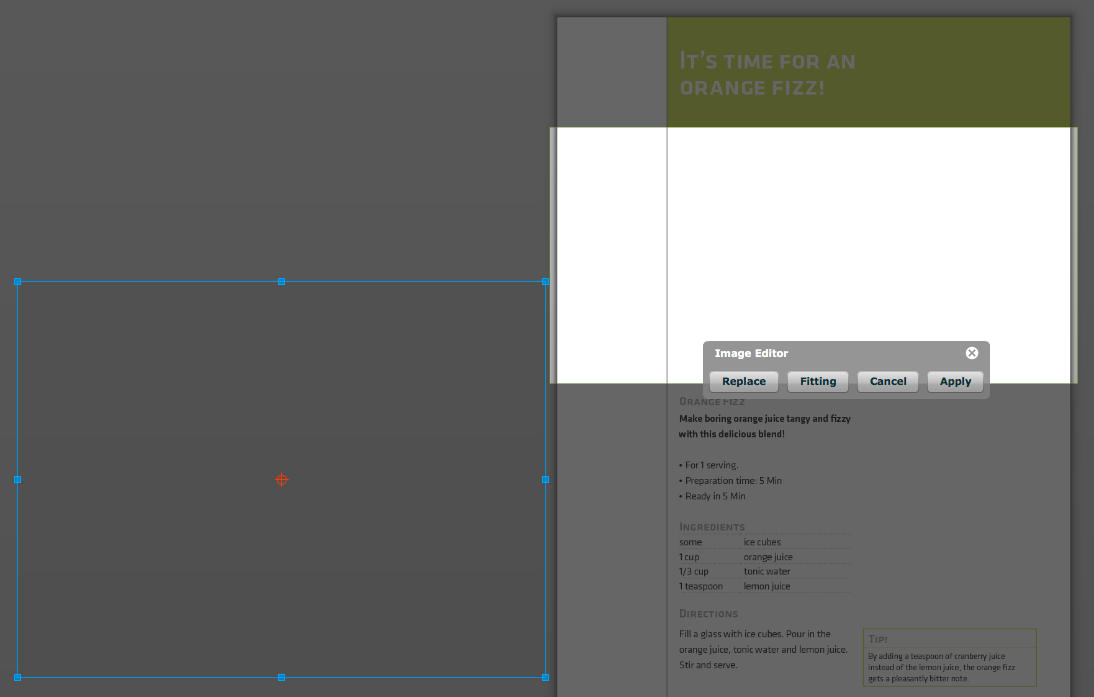
If you select 'Edit Image' from the 'Frame' menu, you are only allowed to move/edit the image itself, and not the frame that contains the image.
Therefore, an image can be moved "outside a frame" as demonstrated in the screenshot above.
1. Manually drag image back
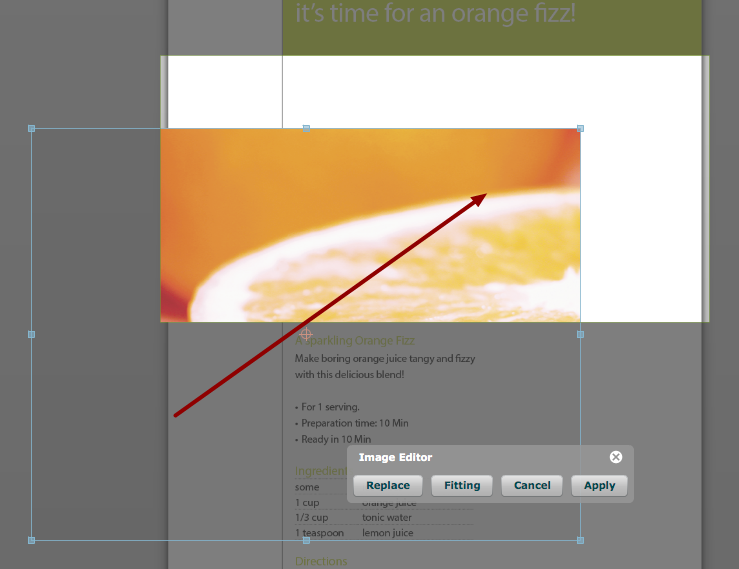
If you can see the outline of the image, then you can simply drag it back into the frame with your mouse (if you have permission to move the image).
For more precision movement of the image, you can use the arrow keys on your keyboard.
2. Set 'Fitting' options
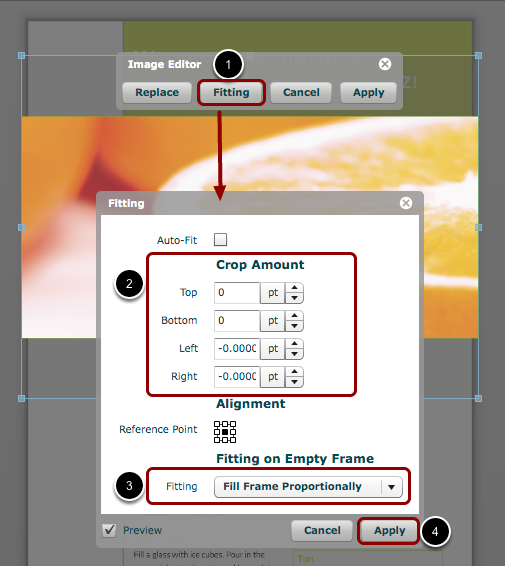
The 'fitting' options can be used to automatically set an image within a frame (if you have permission to set fitting options on the image).
- Click the 'Fitting' button of the 'Image Editor' to open the 'Fitting' window.
- Set all of the 'Crop Amount' values to zero.
- Choose 'fill frame proportionally' (or another option) from the 'Fitting' drop-down menu
- When you are done, click 'Apply'.
NOTE:
If the document designer has set up 'Auto-Fit' for this frame, then checking the 'Auto-Fit' box will revert to the designer's image-fitting settings.